How to Photograph Amigurumi for Pattern Sales
A great amigurumi photo does more than prove you finished the project. It helps a customer picture the character on their own shelf, understand what they are buying, and trust that your pattern is clear enough to make. Learning how to photograph amigurumi is therefore part of product development, not an afterthought after the crocheting is done.
Your goal is not to make every image look like a glossy toy-brand campaign. Your goal is to show the shape, stitches, scale, personality, and construction details of your design with enough consistency that your pattern listing feels polished and credible.
Start With the Job of Each Photo
Before setting up a backdrop, decide where the photos will appear. A cover image needs to stop a scrolling customer and communicate the character quickly. A pattern gallery needs to answer questions: How large is it? What does the back look like? Are the limbs sculpted, sewn on, or jointed? Does the project include accessories?
One strong hero image is essential, but it cannot carry the whole listing. Plan a small set of purposeful photos while the finished sample is in front of you. Photographing everything in one session protects your visual consistency and saves you from trying to recreate the same lighting weeks later.
For most amigurumi pattern listings, capture a front view, a three-quarter view, a back view, a close-up of the face, and a scale shot. If an accessory, tail, color change, or unusual texture is a selling feature, give it its own image. These are not filler photos. They reduce customer uncertainty before purchase.
Build a Simple, Repeatable Photo Setup
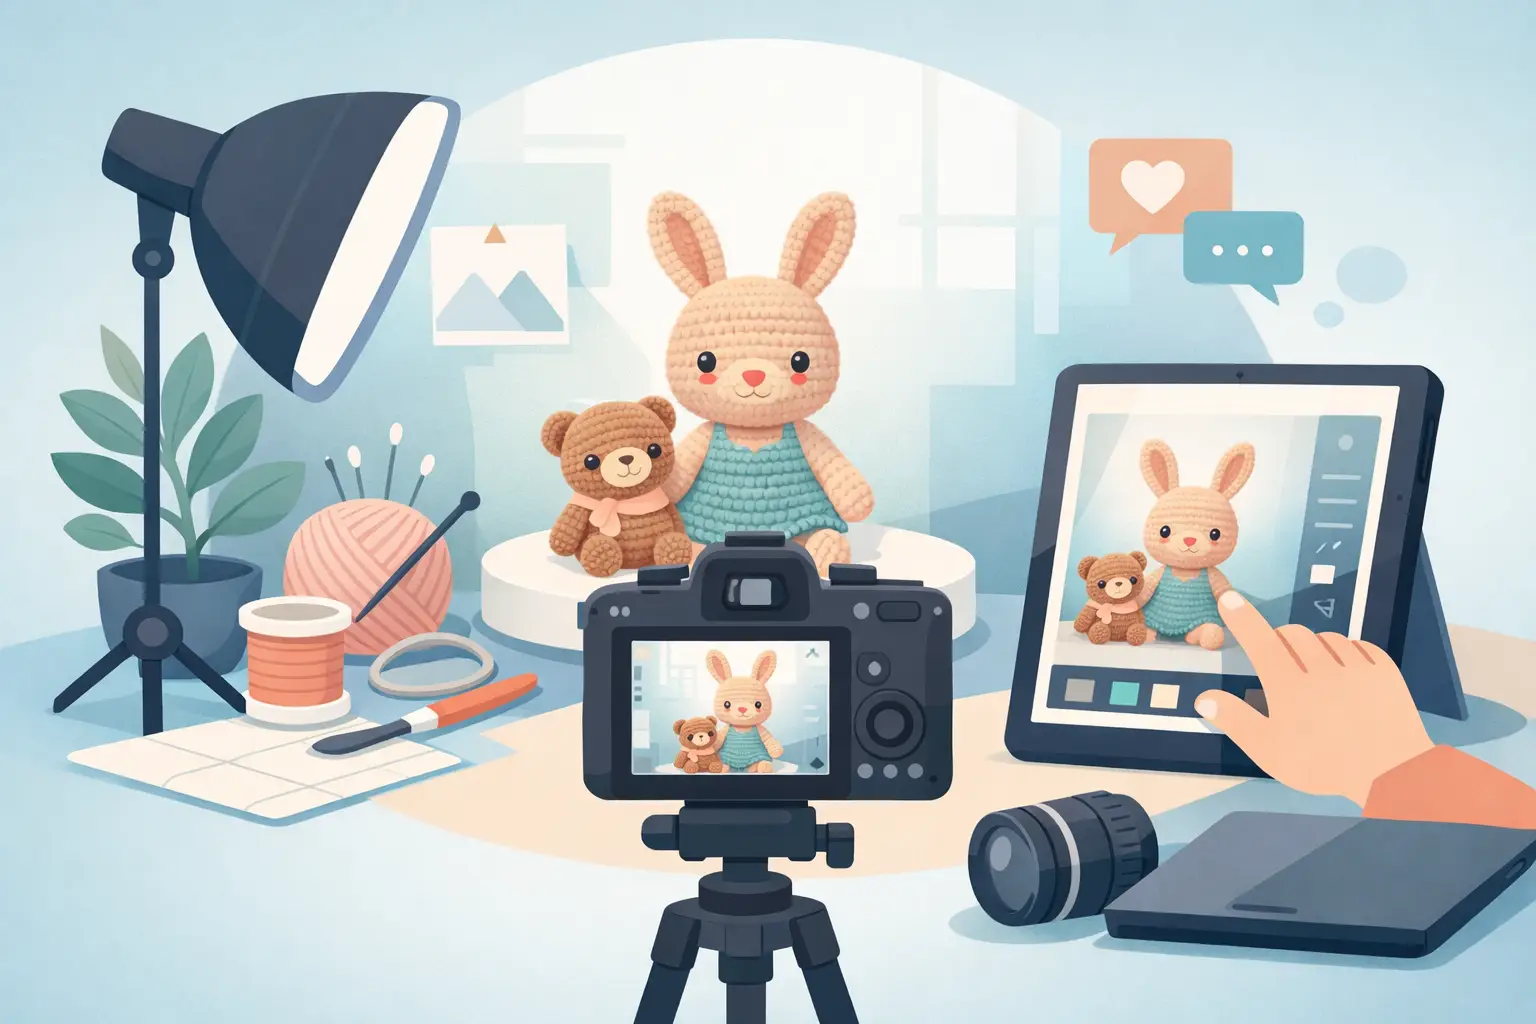
You do not need a dedicated studio to create professional crochet photography. You do need control. A table near a large window, a foam board reflector, and two or three reliable backgrounds can produce a repeatable system for an entire pattern catalog.
Choose indirect window light whenever possible. Place the amigurumi beside the window rather than directly in harsh sun. Direct sunlight creates deep shadows under the chin and arms, blows out pale yarn, and makes textured stitches look uneven. Soft side light reveals dimension without making the toy look flat.
On the side opposite the window, place a white foam board or poster board to bounce light back into the shadows. This inexpensive adjustment matters especially for dark yarn. Black, navy, and deep brown amigurumi often lose their stitch definition in photos, so reflected light is usually more useful than simply raising exposure later.
If you photograph at night or need total consistency, use two daylight-balanced lights with diffusion. Keep them broad and soft rather than pointed directly at the subject. The trade-off is setup time, but controlled artificial light lets you build a dependable publishing workflow regardless of weather or season.
Choose Backgrounds That Support the Design
A background should frame your amigurumi, not compete with it. White, warm cream, pale gray, muted blue, or a lightly textured neutral surface are reliable choices because they keep yarn colors accurate and work across a catalog.
The right choice depends on the character. A white bunny can disappear against bright white, while a dark dragon may need a lighter background to show its outline. Use contrast deliberately: the finished object should be the first thing a customer sees.
Props can add personality, but use them with restraint. A tiny book beside a bookworm character or a wooden spoon beside a chef can establish a story fast. Too many props, however, create visual noise and make it harder to evaluate the crochet work. Save the fuller styled scene for one lifestyle image and keep the rest of the gallery clean.
Style the Amigurumi Before You Shoot
Crochet cameras notice what your eye overlooks. Before taking photos, remove loose yarn fuzz, straighten appendages, shape stuffing, check that embroidered details are centered, and make sure the piece can stand or sit as intended. A lint roller, small scissors, tapestry needle, and crochet hook belong in your photo kit.
Pay close attention to the face. A tiny shift in safety eyes, blush, or embroidered mouth can change the entire expression. Photograph at the character's eye level for your hero shot whenever possible. Shooting down from above can make a carefully designed face feel small and less engaging.
If the design is meant to pose, demonstrate that feature clearly. Support the toy from behind with a hidden prop, fishing line, or a small amount of removable adhesive if needed. Customers do not need to see your support system, but they do need an honest impression of what the finished piece can do on its own.
How to Photograph Amigurumi With a Phone
A current smartphone is enough for most digital pattern sellers. What separates a strong phone photo from a casual snapshot is light, distance, and focus.
Do not move the phone extremely close to a small amigurumi. Wide-angle phone lenses can distort a round head or oversized feet when used at close range. Step back, use a modest amount of optical zoom if your phone has it, and crop afterward. The proportions will look more natural.
Tap the face or the most important detail to set focus, then slightly lower the exposure if bright yarn is losing its texture. Many phones over-brighten a pale background and erase the stitch definition in white, cream, or pastel yarn. Preserve the yarn detail first. You can brighten shadows gently in editing.
Use the rear camera, clean the lens, and brace your hands. A small tripod with a phone mount is worthwhile if you photograph patterns regularly. It makes matching angles easier when you need to reshoot a design after tester feedback or add a translated cover image later.
Use Angles That Explain the Pattern
The most attractive angle is not always the most useful one. Build your gallery around both appeal and clarity.
A three-quarter angle usually makes the best cover image because it shows the face and depth of the body at the same time. A direct front view helps customers assess symmetry. A back view is valuable when the design has a tail, hair, shell, wings, colorwork, or a distinctive fastening detail.
Close-ups should be intentional. Use them to show a textured stitch, a carefully embroidered face, a removable outfit, or a construction feature that adds value. Avoid close-ups that merely repeat information already visible in the main photo.
Include scale without making the image feel clinical. Photograph the amigurumi in a hand, beside a familiar object, or on a shelf with a simple contextual item. If scale is central to the buying decision, state the finished size plainly in the pattern listing as well. Photos help customers feel scale; dimensions confirm it.
Edit for Accuracy, Not a Different Product
Editing should make your photo resemble the amigurumi you are holding. Correct white balance so the yarn color is true, lift overly dark shadows, straighten the frame, and crop distractions at the edges. Then stop.
Overediting causes costly problems in pattern sales. Saturated filters can misrepresent yarn colors. Heavy smoothing can hide stitch texture. Artificial background blur may erase ears, tails, or small accessories. A customer who receives a pattern expecting a vivid coral fox should not discover that the real sample was muted peach.
Keep a consistent crop and color treatment across your catalog. This is where a recognizable brand starts to form. When shoppers see several of your listings together, cohesive photos signal that the pattern files are likely to be equally considered.
Photograph During the Design Workflow
Do not wait until publishing day to document the project. Take progress photos while you make the sample, especially when a construction step is unusual or hard to explain in words. These images may not belong in the sales gallery, but they can become valuable reference material for your pattern instructions, testers, and future revisions.
This is also a practical quality check. A photo can reveal an attachment that sits unevenly, a color transition that needs adjusting, or an expression that reads differently from across the room. Use that feedback before finalizing the written pattern.
For designers building a sellable digital workflow, keep the finished product photos and instruction-reference images organized separately. Your cover needs visual impact; your PDF needs clarity.
You can also stop guessing whether a shot is good enough. In Amigurumake's Sell Smart studio, uploading a photo returns a score out of ten for lighting, background, focus, composition and appeal, with written notes on what to change: the same five things this article has been about. When the photo is right, the studio exports it as a 300 DPI cover page and as a 2000 by 2500 pixel image cropped to the 4:5 portrait Etsy recommends, so no separate design tool is needed between the camera and the listing.
Set up one reliable shooting corner, make a repeatable shot list, and photograph each new character with the same care you give its stitch counts. The result is more than a prettier listing: it is a clearer promise of the experience your customers are buying.