Amigurumi 3D Preview for Better Patterns
A buyer can forgive a slightly different yarn color. They are far less forgiving when a head comes out lopsided, a leg ends up shorter than the one in the photo, or the finished character looks nothing like the listing. An amigurumi 3D preview gives you a way to inspect the shape behind your idea before those issues reach a tester or customer. If you are weighing up the options, we compared the tools that turn a crochet pattern into a 3D model side by side.
For pattern designers, that changes the job. You are not only writing rows and stitch counts. You are building a product that must produce a recognizable, repeatable result in someone else’s hands. Seeing the construction as a complete form helps you write with more confidence, make cleaner decisions, and publish patterns that feel worth buying.
Why an amigurumi 3D preview matters
Amigurumi patterns are built from shapes you cannot see until they exist. A head can be mathematically correct and still come out narrower than the one you pictured. A muzzle, tail, wing, or clothing piece can carry bulk that is hard to predict from a row-by-row document. A leg can finish shorter than the photo you plan to sell it with.
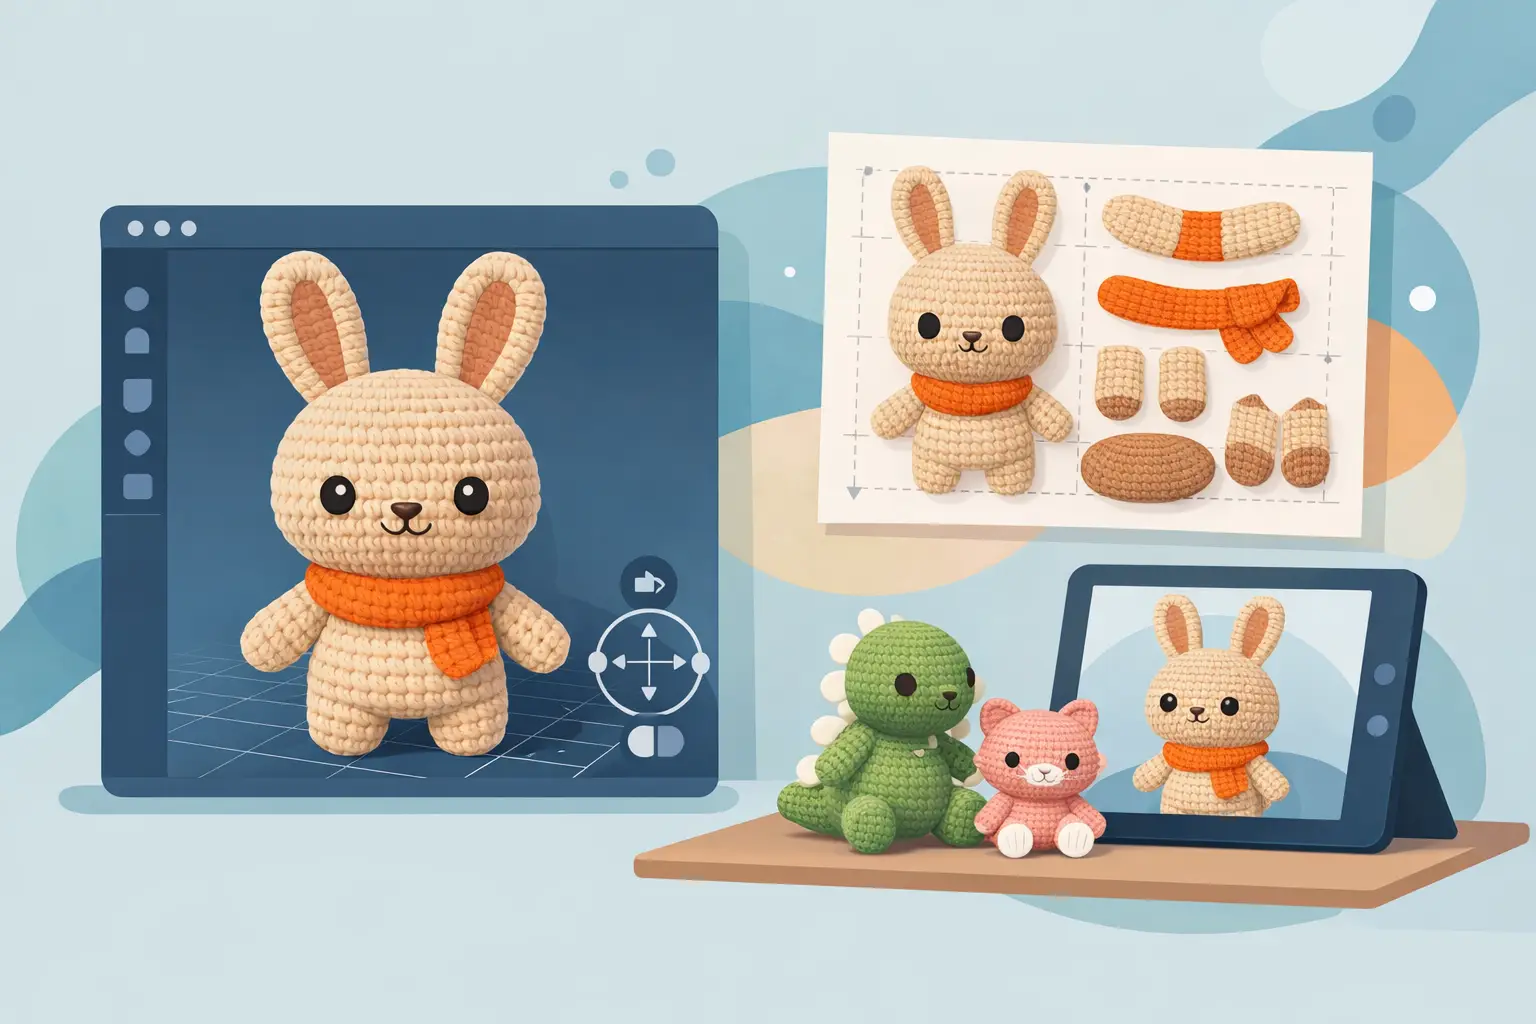
A 3D preview turns those written components into a visual checkpoint. Instead of relying only on memory, sketches, and a physical sample beside your keyboard, you can review each component while you write. You can check its silhouette, its real dimensions in the yarn you chose, and where the colour changes land, before you commit to a final PDF. Once several components exist you can also put them together on screen and see whether the proportions work, which is the judgement that normally waits until every piece is crocheted.
This is especially useful when the pattern has several attachment points or shaped components. Dolls with hair pieces, animals with limbs and tails, collectible characters with accessories, and designs with layered clothing all benefit from an extra visual review. The more pieces a customer must assemble, the more valuable clear structure becomes.
The goal is not to replace swatching, crocheting, or tester feedback. Crochet fabric has stretch, stuffing changes form, and yarn choice affects the final result. A preview cannot fully predict those material realities. What it can do is help you catch construction problems earlier, when they are faster and less expensive to fix.
See the design before you write around a mistake
Many pattern writers work backward from a finished sample. They photograph it, reconstruct their notes, then spend hours turning shorthand into customer-ready instructions. That process can work, but it often leaves a gap between what the designer intended and what the instructions actually communicate.
A visual workspace closes that gap. As you define the head, body, limbs, and details, you can inspect whether the design is moving toward the character you planned. If the legs appear too short or the ears overwhelm the head, you can adjust the pattern logic before polishing every instruction around an imperfect shape.
This matters commercially. Revising a single component early may take minutes. Revising the stitch instructions, assembly section, progress photos, translated versions, tester materials, and exported PDF after launch can take days. An amigurumi 3D preview supports a better order of operations: build, inspect, refine, then publish.
Check proportions, not just stitch counts
Stitch counts tell you whether a round is mathematically consistent. They do not tell you whether the character looks balanced. Two designs can use sound increases and decreases while producing very different visual results.
Use the preview to ask practical questions. Does the head read as intentionally large, or simply larger than you meant? Is the arm long enough for the character you sketched? Does the tail have the weight you wanted, or has it turned into a stub? Is the accessory large enough to be recognizable without hiding the base shape?
These are design decisions, not just technical corrections. A clear silhouette makes product photos stronger and helps buyers recognize what they are making before they purchase.
Write placement instructions you can point to
Placement is where many otherwise strong patterns lose customers. The individual pieces may be easy to crochet, but the instructions for putting them together turn vague: attach between rounds 18 and 22, centered under the eye line, angled slightly outward. A skilled maker may interpret that correctly. A newer customer may not.
The preview helps by giving you numbers to write with. Position the eyes and the nose on the piece itself and read off the exact round and stitch they sit on, then put those figures in the pattern instead of an approximation. The same applies to where a colour change falls or where a shaping round lands. You end up describing a position you looked at rather than one you remembered.
Do not assume every design needs the same amount of visual reference. Some benefit from several images, while a simple one-piece plush may need only clean written instructions and a finished photo. Use the visual tool where it reduces uncertainty for you and your customer.
A practical workflow for 3D-ready patterns
The strongest workflow keeps creative decisions and publishing decisions connected. Start with the character concept, then define the major shapes before spending time on decorative details. A simple head-body-limb structure can reveal whether the overall design works.
Next, write each component as a complete, readable unit. Name parts consistently. If your project calls a piece a front leg in one section, do not call it an arm elsewhere. Clear component names make the preview easier to review and the finished pattern easier to follow.
Once the core form is visible, inspect it from the angles that matter. Front view helps you evaluate symmetry and facial placement. Side view can reveal a protruding muzzle, an awkward neck, or a tail that changes balance. A back view matters when you are adding straps, shells, hair, wings, capes, or other pieces customers must attach accurately.
Then refine the written pattern alongside the model. If you change a body round to improve proportion, update the related assembly instructions immediately. If an accessory moves, revisit the placement notes. Treat the visual and written versions as one product, not two separate tasks.
Finally, send the design to testers with a pattern that is already structurally clear. Testers should help you validate usability, sizing, yarn behavior, and unclear phrasing. They should not be spending their first evening discovering that a piece finishes at half the size the photo implies.
Build a more professional product catalog
A polished pattern earns trust before the customer starts crocheting. Buyers notice consistent terminology, logical assembly, readable formatting, and finished results that match the promise of the cover image. Visual validation supports all of those qualities.
It also helps when your catalog grows. Once you have multiple character patterns, you need a repeatable way to keep designs organized and publishable. A dedicated studio such as Amigurumake lets designers write components, see the project in 3D, prepare translations, manage tester calls, and export a sale-ready PDF from the same creator-focused workflow.
That does not mean every pattern needs the same level of complexity. A quick seasonal mini may need a lighter process than a signature doll designed for international sales. The point is to choose a workflow that matches the risk and value of the product. For a detailed design that will be sold repeatedly, a visual check is a smart investment in fewer support messages and stronger reviews.
Use the preview to write clearer instructions
Visualizing the finished form improves the language of the pattern itself. Instead of writing generic directions such as “attach as desired,” you can describe an intentional result: attach the ears evenly, with the lower edge aligned near the top third of the head. Instead of saying “sew on the tail,” you can specify its centered position and angle.
That specificity is not about making patterns feel rigid. It gives customers a reliable starting point while leaving room for handmade variation. Amigurumi should still look handmade. Your instructions simply need to make the intended character achievable.
When a design includes optional details, use the preview to decide what is essential to the base construction and what can be presented as a variation. A scarf may be optional. A stabilizing tail placement may not be. Separating those decisions makes the pattern easier to use and easier to market to different skill levels.
Your next character does not need more pages, more photos, or more last-minute revisions. It needs a clear path from shape to instruction to finished result. See the form early, write what the customer truly needs to know, and let every exported pattern show the standard your business is building.