How to Scale Amigurumi Patterns Without Guessing
A tiny bear that fits in a palm and a 12-inch bear are not the same pattern with bigger yarn. If you want to know how to scale amigurumi patterns for a sellable collection, treat size as a design decision, not a happy accident. Your stitch counts, shaping, limb placement, stuffing, and facial details all need to work together at the new scale.
The goal is not simply to make the finished piece larger or smaller. The goal is to preserve the character your customer fell in love with while giving them instructions that produce a stable, recognizable result.
Choose the Kind of Scaling You Need
There are two practical ways to offer multiple amigurumi sizes, and they solve different problems.
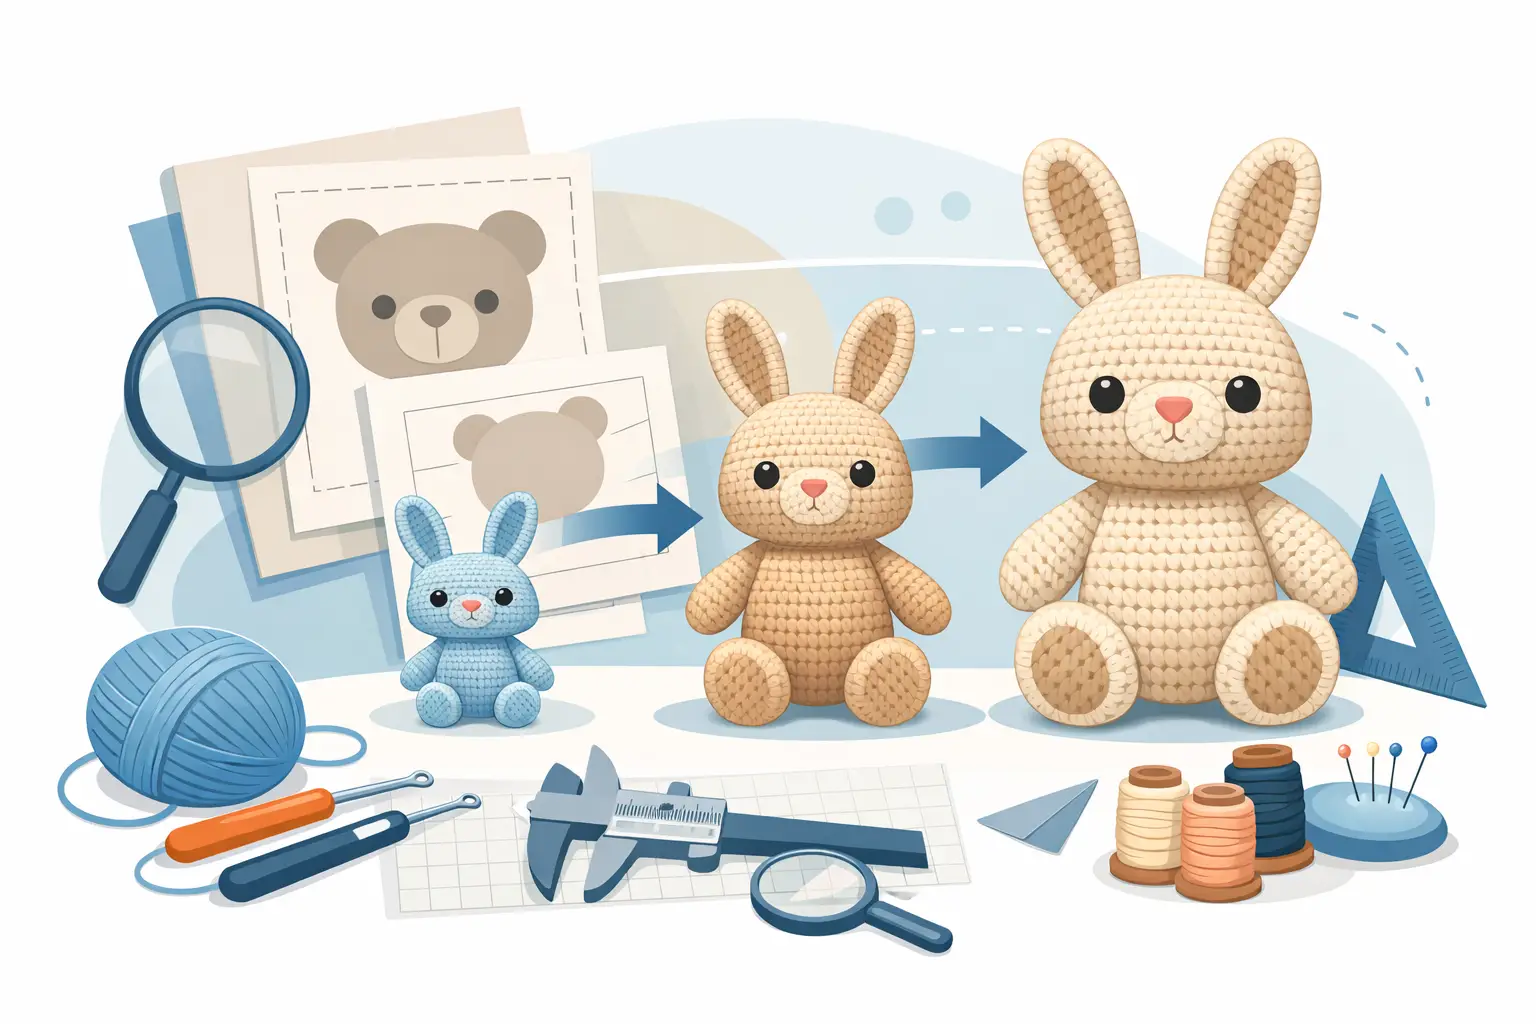
The fastest option is material scaling. You keep the written pattern the same and use a heavier or lighter yarn with an appropriately sized hook. A character made in worsted-weight yarn may become much smaller in sport-weight yarn or much larger in bulky chenille yarn. This is useful when you want a flexible size range without writing a second set of instructions.
Material scaling has limits. Different yarns change stitch definition, drape, stretch, and stuffing coverage. A head that looks round and firm in cotton can become soft or elongated in plush yarn. Small sewn details may disappear, while safety eyes that worked at the original size can look oversized.
The second option is pattern grading. You rewrite stitch counts and row counts to create a deliberately larger or smaller version. This takes more work, but it gives you better control over proportions and produces a stronger premium pattern. Grade the pattern when the finished size is central to the product, when the design has detailed shaping, or when customers need predictable results.
How to Scale Amigurumi Patterns by Rewriting the Math
Start with a scale factor. Divide the target finished measurement by your original finished measurement. If your original bunny is 8 inches tall and the new version should be 10 inches, your scale factor is 1.25. You are aiming for a version that is about 125% of the original size.
Use that number as a guide, not a command. Crochet is built from whole stitches and whole rounds, so the math must be adapted to the structure of the piece.
Record the baseline before changing anything
Write down the original measurements and construction details. Measure height, widest head circumference, body circumference, arm length, leg length, ear length, and the distance between key facial features. Record the yarn, hook size, stitch gauge, row gauge, eye size, and amount of stuffing used.
Also identify the features that define the character. It may be an oversized head, short legs, a wide belly, or eyes set low on the face. Those proportions matter more than an exact inch measurement. A technically larger toy that loses its expression is not a successful scale.
Scale circumference and length separately
For rounded pieces such as heads, bodies, and paws, stitch counts around the widest point determine circumference. Row counts determine height or length. Multiply both by your scale factor, then round to stitch counts that support clean increase and decrease sequences.
For example, imagine a head that reaches 48 stitches around and is worked across 30 rounds. At 125%, the initial targets are 60 stitches around and about 38 rounds. A 60-stitch maximum is easy to build with evenly spaced increases, so it is a practical target. Thirty-eight rounds may need adjustment after you test the shape, especially if the original head includes several straight rounds between increase and decrease sections.
Do not multiply every round mechanically. Preserve the construction logic. If the original head increases by six stitches per round, continue using that rhythm where possible. Then add or remove plain rounds to fine-tune height. This produces smoother shaping than forcing awkward increase intervals just to match a spreadsheet result.
Rebuild each component as a connected system
Scale the head first, then grade the body to support it. A larger head may need a wider neck opening, a firmer join, or a heavier body so the character does not tip forward. Next, scale arms, legs, ears, tails, wings, and accessories against the new body measurements.
Small parts often need judgment calls. At a smaller size, narrow ears or tiny fingers may become frustrating to crochet and impossible to stuff. Simplify the construction instead of preserving every detail. At a larger size, flat limbs may look underfilled and need more rounds or a different attachment point.
Use proportional measurements to guide placement. If eyes sit 40% of the way down the original head, begin there on the graded head. Then inspect the expression in real life. The correct placement is the one that reads well, not the one that blindly follows a percentage.
Gauge Is Your Scale Checkpoint
Pattern grading only works when you know how your fabric behaves. Before rewriting an entire design, crochet a small gauge swatch in the yarn and hook combination you plan to recommend. Measure stitches and rounds over a consistent area without stretching the fabric.
A looser gauge can make a project taller or wider than expected, but it can also expose stuffing. A tighter gauge may create a smaller, denser piece that is difficult to shape. For amigurumi, a neat fabric with no visible stuffing is usually more valuable than hitting an exact finished height.
Software can do the measuring for you. Amigurumake reads the rounds you have written together with the yarn you selected and reports your largest piece in centimetres and inches, and carries that straight into the finished-size line of the PDF. Change the yarn and the number changes with it, so two materials can be compared before either one is crocheted.
This is why finished measurements should still be presented as approximate. Yarn choice, tension, stuffing density, and hook preference all affect the outcome. Give customers a reference measurement, then tell them which yarn weight and hook were used for the sample.
If you are offering a same-pattern, different-yarn option, test the original instructions in the new materials before publishing the claim. Never assume that two yarn weights will scale predictably based on the label alone.
Protect the Details That Make the Design Sell
Scaling exposes details that felt effortless at the original size. Treat these as separate design decisions.
Safety eyes, embroidered faces, noses, blush, appliques, and clothing closures should be reassessed at every size. A 6 mm eye does not always become an 8 mm eye just because the head is larger. Compare several options against the crocheted head and photograph them before committing.
The same applies to accessories. A hat, scarf, bow, or tiny bag needs to fit the new head or body, but it must also look intentional. If the larger version uses the same accessory proportions, it may appear undersized. If the smaller version keeps every accessory detail, it can become visually crowded.
Stuffing deserves its own test. Larger pieces need enough filling to hold their form, especially in long necks, standing legs, and large heads. But overstuffing can widen a body, distort stitch alignment, and alter the fit of clothing. Write your pattern instructions around the result you want: stuff firmly, shape as you go, and avoid stretching the fabric.
Test the Scaled Pattern Like a New Product
A graded version is a new product variation, not a quick edit. Crochet at least one complete sample from the rewritten instructions. Assemble it exactly as your customer will, including facial details and accessories. Measure the finished result, photograph it beside the original, and compare the silhouette from the front, side, and back.
Then use testers who crochet with different tension levels and yarn preferences. Their feedback will show where a stitch count is unclear, a limb sits unevenly, or an attachment instruction assumes too much. Ask testers to report their gauge, finished size, yarn, hook, and any changes they made. That information helps you separate a pattern issue from a materials issue.
Visual inspection is especially useful when several components change at once. In Amigurumake, you can watch each piece build in 3D as you write its rounds, and place the pieces on each other, making it easier to catch an oversized ear or a narrow body before the pattern reaches testing. Scaling is a proportion problem, so the pieces have to be judged together and not one at a time. Use the visual model as a design checkpoint, then let the physical sample confirm fabric behavior and finished proportions.
Publish Clear Size Options
When you sell multiple sizes, make the choice simple. State whether customers are selecting a different yarn recommendation or a separately graded pattern. Label each size clearly and include the finished measurement, suggested yarn weight, hook size, eye recommendation, and required materials.
Keep instructions for each size distinct enough that customers do not have to decode a crowded paragraph of alternatives. For a simple design, parentheses can work. For a detailed character with many shaping changes, separate sections or a separate PDF may be easier to follow and easier to test.
A clean export matters here. Your customer should be able to see where one component begins, which size they are making, and where assembly measurements belong. Clear instructions reduce support requests and make your work feel as professional as the design itself.
The best scaled amigurumi patterns do more than offer a bigger or smaller toy. They give customers confidence that the character will keep its shape, charm, and personality in their hands. Build that confidence into the pattern, and every new size becomes a stronger product in your catalog.