8 Best Ways to Show Assembly in Amigurumi
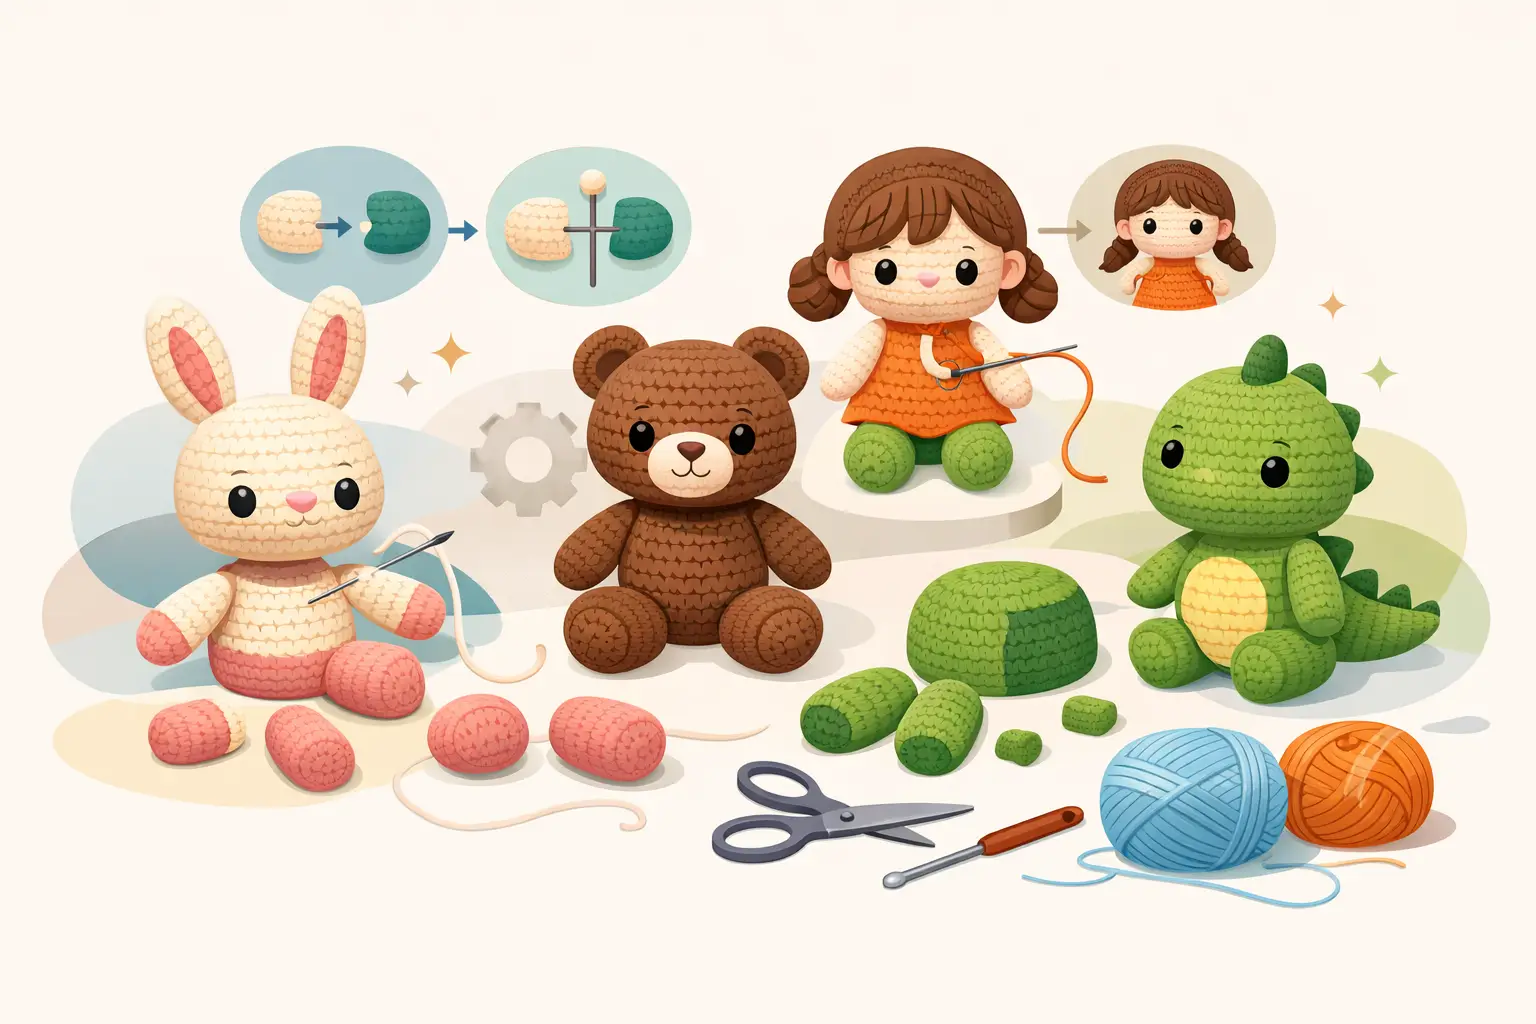
A beautifully written amigurumi pattern can still leave customers stuck at the final step: where exactly do the ears, limbs, muzzle, and tail go? The best ways to show assembly make those decisions visible before a maker picks up a yarn needle. Clear assembly guidance protects the customer experience, reduces support messages, and makes your pattern feel like a polished product worth buying.
For designers, assembly is not an afterthought. It is the moment when separate crochet pieces become the character customers fell in love with. Treat it with the same care as stitch counts, shaping, and color changes.
Why Assembly Instructions Make or Break a Pattern
Most amigurumi projects are built from manageable individual parts. The challenge begins when the customer has to position those parts on a round, soft body with no fixed seams or hard edges to guide them. “Attach between rounds 12 and 16” is useful, but it rarely answers whether an arm should angle forward, sit high on the side, or be spaced two stitches farther from the belly.
Small placement differences change a character’s personality. Eyes placed one round lower can make an animal look younger. A muzzle shifted by two stitches can distort facial symmetry. Long legs attached at the wrong angle can keep a doll from sitting properly. Your assembly section needs to communicate both the measurements and the visual result.
The goal is not to overwhelm customers with pages of directions. It is to remove uncertainty at the points where uncertainty affects the finished piece.
8 Best Ways to Show Assembly Clearly
1. Define placement with rounds and stitch counts
Start with language that customers can verify on the project in their hands. Identify the rounds where a piece begins and ends, how many stitches sit between matching pieces, and which point on the body acts as the center line.
For example, instead of writing “sew the ears to the head,” write: “Pin each ear across rounds 4-9, with the inner edge beginning 6 stitches from the center of the face.” This gives the maker a repeatable location, even if their tension is slightly different from yours. If a piece is attached to an oval rather than a sphere, specify front, back, side, and any intended tilt.
2. Use a front-view placement image
A clean front view is the fastest way to communicate symmetry. Show the completed body with eyes, facial features, ears, arms, and other visible parts in position. Keep the image bright, uncluttered, and large enough for customers to count landmarks such as rounds or rows.
Add simple labels only when they clarify the image. A line pointing to “top of arm begins at round 18” is helpful. A screen full of labels covering the character is not. Let the photo confirm the written instruction rather than replace it.
3. Add side and back views when angle matters
A front photo cannot show how far a tail extends, whether wings sit toward the back, or whether legs point forward enough to support a seated pose. If placement changes the silhouette or pose, show additional angles.
Side views are especially valuable for dolls, animals with snouts, standing figures, and designs with layered accessories. Back views help with tails, backpacks, capes, hair, and shells. You do not need a gallery for every small piece, but you do need enough views to reveal the intended three-dimensional relationship between parts.
4. Tell customers to pin before sewing
Pins, stitch markers, or removable clips give makers permission to check the full character before making anything permanent. Build that pause into the instructions: pin both arms, look at the piece from the front and side, adjust for symmetry, then sew.
This is a small instruction with a major payoff. It prevents the common frustration of finishing one arm, attaching the second, and realizing the first sits too low. For pieces that need a specific expression or balance, note what customers should look for during the pinning stage, such as “the feet should touch the surface evenly” or “the ears should frame the eyes without covering them.”
5. Explain the sewing path, not just the destination
Placement tells customers where a part belongs. Sewing guidance tells them how to secure it neatly. Mention where to insert the needle, whether to work through both loops, how often to take stitches, and how to hide the yarn tail.
A short, clear instruction often does the job: “Use the long tail to whip stitch through both layers around the outer edge. Take one stitch in the body for each stitch along the arm, pulling firmly after every few stitches.” If you want an arm to move, say so and describe a jointed attachment instead. If it must stay flat, tell customers to stitch through the center as well as around the edge.
6. Show the order of assembly
The order matters because some pieces are easier to attach before others cover the working area. Safety eyes usually need to be installed before stuffing and closing the head. A muzzle may need to be positioned before the eyes are finalized. Clothing can affect where arms and legs should sit.
Write assembly as a sequence that respects those dependencies. Group related tasks together: shape the face, attach facial pieces, sew head to body, then attach limbs and accessories. This also helps customers see progress. They are not staring at a vague final stage called “assembly.” They are completing a controlled set of steps.
7. Use 3D previews to validate each piece
Photos show one finished sample. A 3D preview shows the shape your written rounds actually build, while the design is still easy to change. This is particularly useful when you are refining a component, comparing two shaping options, or checking that a tail, limb, or ear really comes out at the size and proportions the photo will promise.
In Amigurumake, designers write each component and inspect it in 3D while the pattern is still in development. A leg that finishes shorter than intended, a head that comes out wider or flatter than you pictured, or a piece that closes on a different round than the instructions say shows up on screen before a tester finds it. The pieces can also be placed on each other, which is where the placement decisions in your assembly section actually get made: you choose what attaches to what and where, see the result, and read back the round and the stitch to write down. Verified pieces make assembly instructions easier to trust: the rounds you reference in step 1 are rounds you have already seen build the right shape. The benefit is practical: fewer assumptions between what you designed and what customers build.
8. Include a final assembly check
Before the pattern moves to finishing details, give customers a brief quality check. Ask them to look for matching arm height, even eye placement, stable feet, concealed tails, and a head that sits securely on the body. These are not decorative extras. They help makers correct a small issue while it is still easy to fix.
For a more complex design, add one sentence about pose or balance. A standing animal may need its feet centered under the body. A sitting doll may need its legs angled slightly forward. This confirms that the customer has assembled the project as intended, not merely attached every part.
Build Assembly Into Your Design Workflow
Strong assembly instructions are easier to create when you document decisions as you make them. Do not wait until the sample is finished, photographed, and ready to publish. As you attach each piece, record the starting round, ending round, stitch spacing, angle, and attachment method. Take reference images before accessories cover the relevant area.
Testing is where this system proves its value. Ask testers to flag the first place where they had to guess. If several testers reposition an arm or interpret an instruction differently, the issue is not their skill level. Your pattern needs a clearer measurement, a better view, or a more explicit sewing note.
There is a trade-off. Extremely detailed assembly pages can make a simple pattern feel intimidating, while minimal directions can leave newer makers stranded. Match the level of explanation to the design’s complexity and your audience. A basic ball-shaped bee may need one placement image and concise round references. A poseable dragon with layered wings, horns, and embroidered features needs more visual support.
Make the Finished Character Easy to Recognize
Customers buy an amigurumi pattern because they want to make the character shown in your listing. Assembly instructions are where you help them get there. When placement is measurable, visual, and checked from more than one angle, customers can finish with confidence and share work that looks recognizably like your design.
Give assembly the space it earns. A few precise directions and purposeful visuals can turn the most uncertain stage of a project into the moment your pattern feels truly professional.